联动三年前的文章:使用 Travis CI 自动部署 Hexo 博客
今天更新了一下博客,寻思着好歹也改一下页脚的 Copyright 年份,改完 push 上去以后却发现 GitHub Pages 迟迟没有更新。进去 Travis CI 一看,发现任务一直处于 Queued 状态,半小时了都没开始构建。
查了一下,并不是只有我遇到了类似情况(似乎是因为 Travis CI 正在将 travis-ci.org 迁移至 travis-ci.com):
看了一圈感觉有点悬,干脆换成 GitHub Actions 吧。
我的博客完全托管在 GitHub 上:prinsss.github.io,其中 source 分支放的是源码,master 分支(即 GitHub Pages)是 Hexo 生成的静态博客页面。
要做的也和之前 Travis CI 差不多,当 source 分支有更新时,自动使用 Hexo 构建新页面并更新 GitHub Pages 就可以了。
配置部署密钥
生成一个新的 SSH 密钥,用于 push 至 GitHub Pages 所在的 repo:
ssh-keygen -f hexo-deploy-key -C "prinsss.github.io"将公钥 hexo-deploy-key.pub 设置为仓库的部署密钥(Settings > Deploy keys):

然后在 Settings > Secrets 中新增一个 secret,命名为 DEPLOY_KEY,把私钥 hexo-deploy-key 的内容复制进去,供后续使用。
编写 Workflow
Workflow 就是 GitHub Actions 的配置文件,类似于 .travis.yml。
首先新建文件:
mkdir -p .github/workflows
touch .github/workflows/deploy.yml
编辑 deploy.yml:
name: Hexo Deploy

# 只监听 source 分支的改动
on:
  push:
    branches:
      - source

# 自定义环境变量
env:
  POST_ASSET_IMAGE_CDN: true

jobs:
  build-and-deploy:
    runs-on: ubuntu-latest

    steps:
      # 获取博客源码和主题
      - name: Checkout
        uses: actions/checkout@v2

      - name: Checkout theme repo
        uses: actions/checkout@v2
        with:
          repository: prinsss/hexo-theme-murasaki
          ref: master
          path: themes/murasaki

      # 这里用的是 Node.js 14.x
      - name: Set up Node.js
        uses: actions/setup-node@v1
        with:
          node-version: '14'

      # 设置 yarn 缓存,npm 的话可以看 actions/cache@v2 的文档示例
      - name: Get yarn cache directory path
        id: yarn-cache-dir-path
        run: echo "::set-output name=dir::$(yarn cache dir)"

      - name: Use yarn cache
        uses: actions/cache@v2
        id: yarn-cache
        with:
          path: ${{ steps.yarn-cache-dir-path.outputs.dir }}
          key: ${{ runner.os }}-yarn-${{ hashFiles('**/yarn.lock') }}
          restore-keys: |
            ${{ runner.os }}-yarn-

      # 安装依赖
      - name: Install dependencies
        run: |
          yarn install --prefer-offline --frozen-lockfile

      # 从之前设置的 secret 获取部署私钥
      - name: Set up environment
        env:
          DEPLOY_KEY: ${{ secrets.DEPLOY_KEY }}
        run: |
          sudo timedatectl set-timezone "Asia/Shanghai"
          mkdir -p ~/.ssh
          echo "$DEPLOY_KEY" > ~/.ssh/id_rsa
          chmod 600 ~/.ssh/id_rsa
          ssh-keyscan github.com >> ~/.ssh/known_hosts

      # 生成并部署
      - name: Deploy
        run: |
          npx hexo deploy --generate
当然,具体步骤还是得根据自己的需求进行相应的修改。
GitHub Pages 相关的具体配置放在了 Hexo 的 _config.yml 里:
deploy:
  type: git
  repo: git@github.com:prinsss/prinsss.github.io.git
  branch: master
  name: prinsss
  email: prinsss@gmail.com
部署结果
更新 source 分支,push 后 GitHub Actions 就会自动执行。
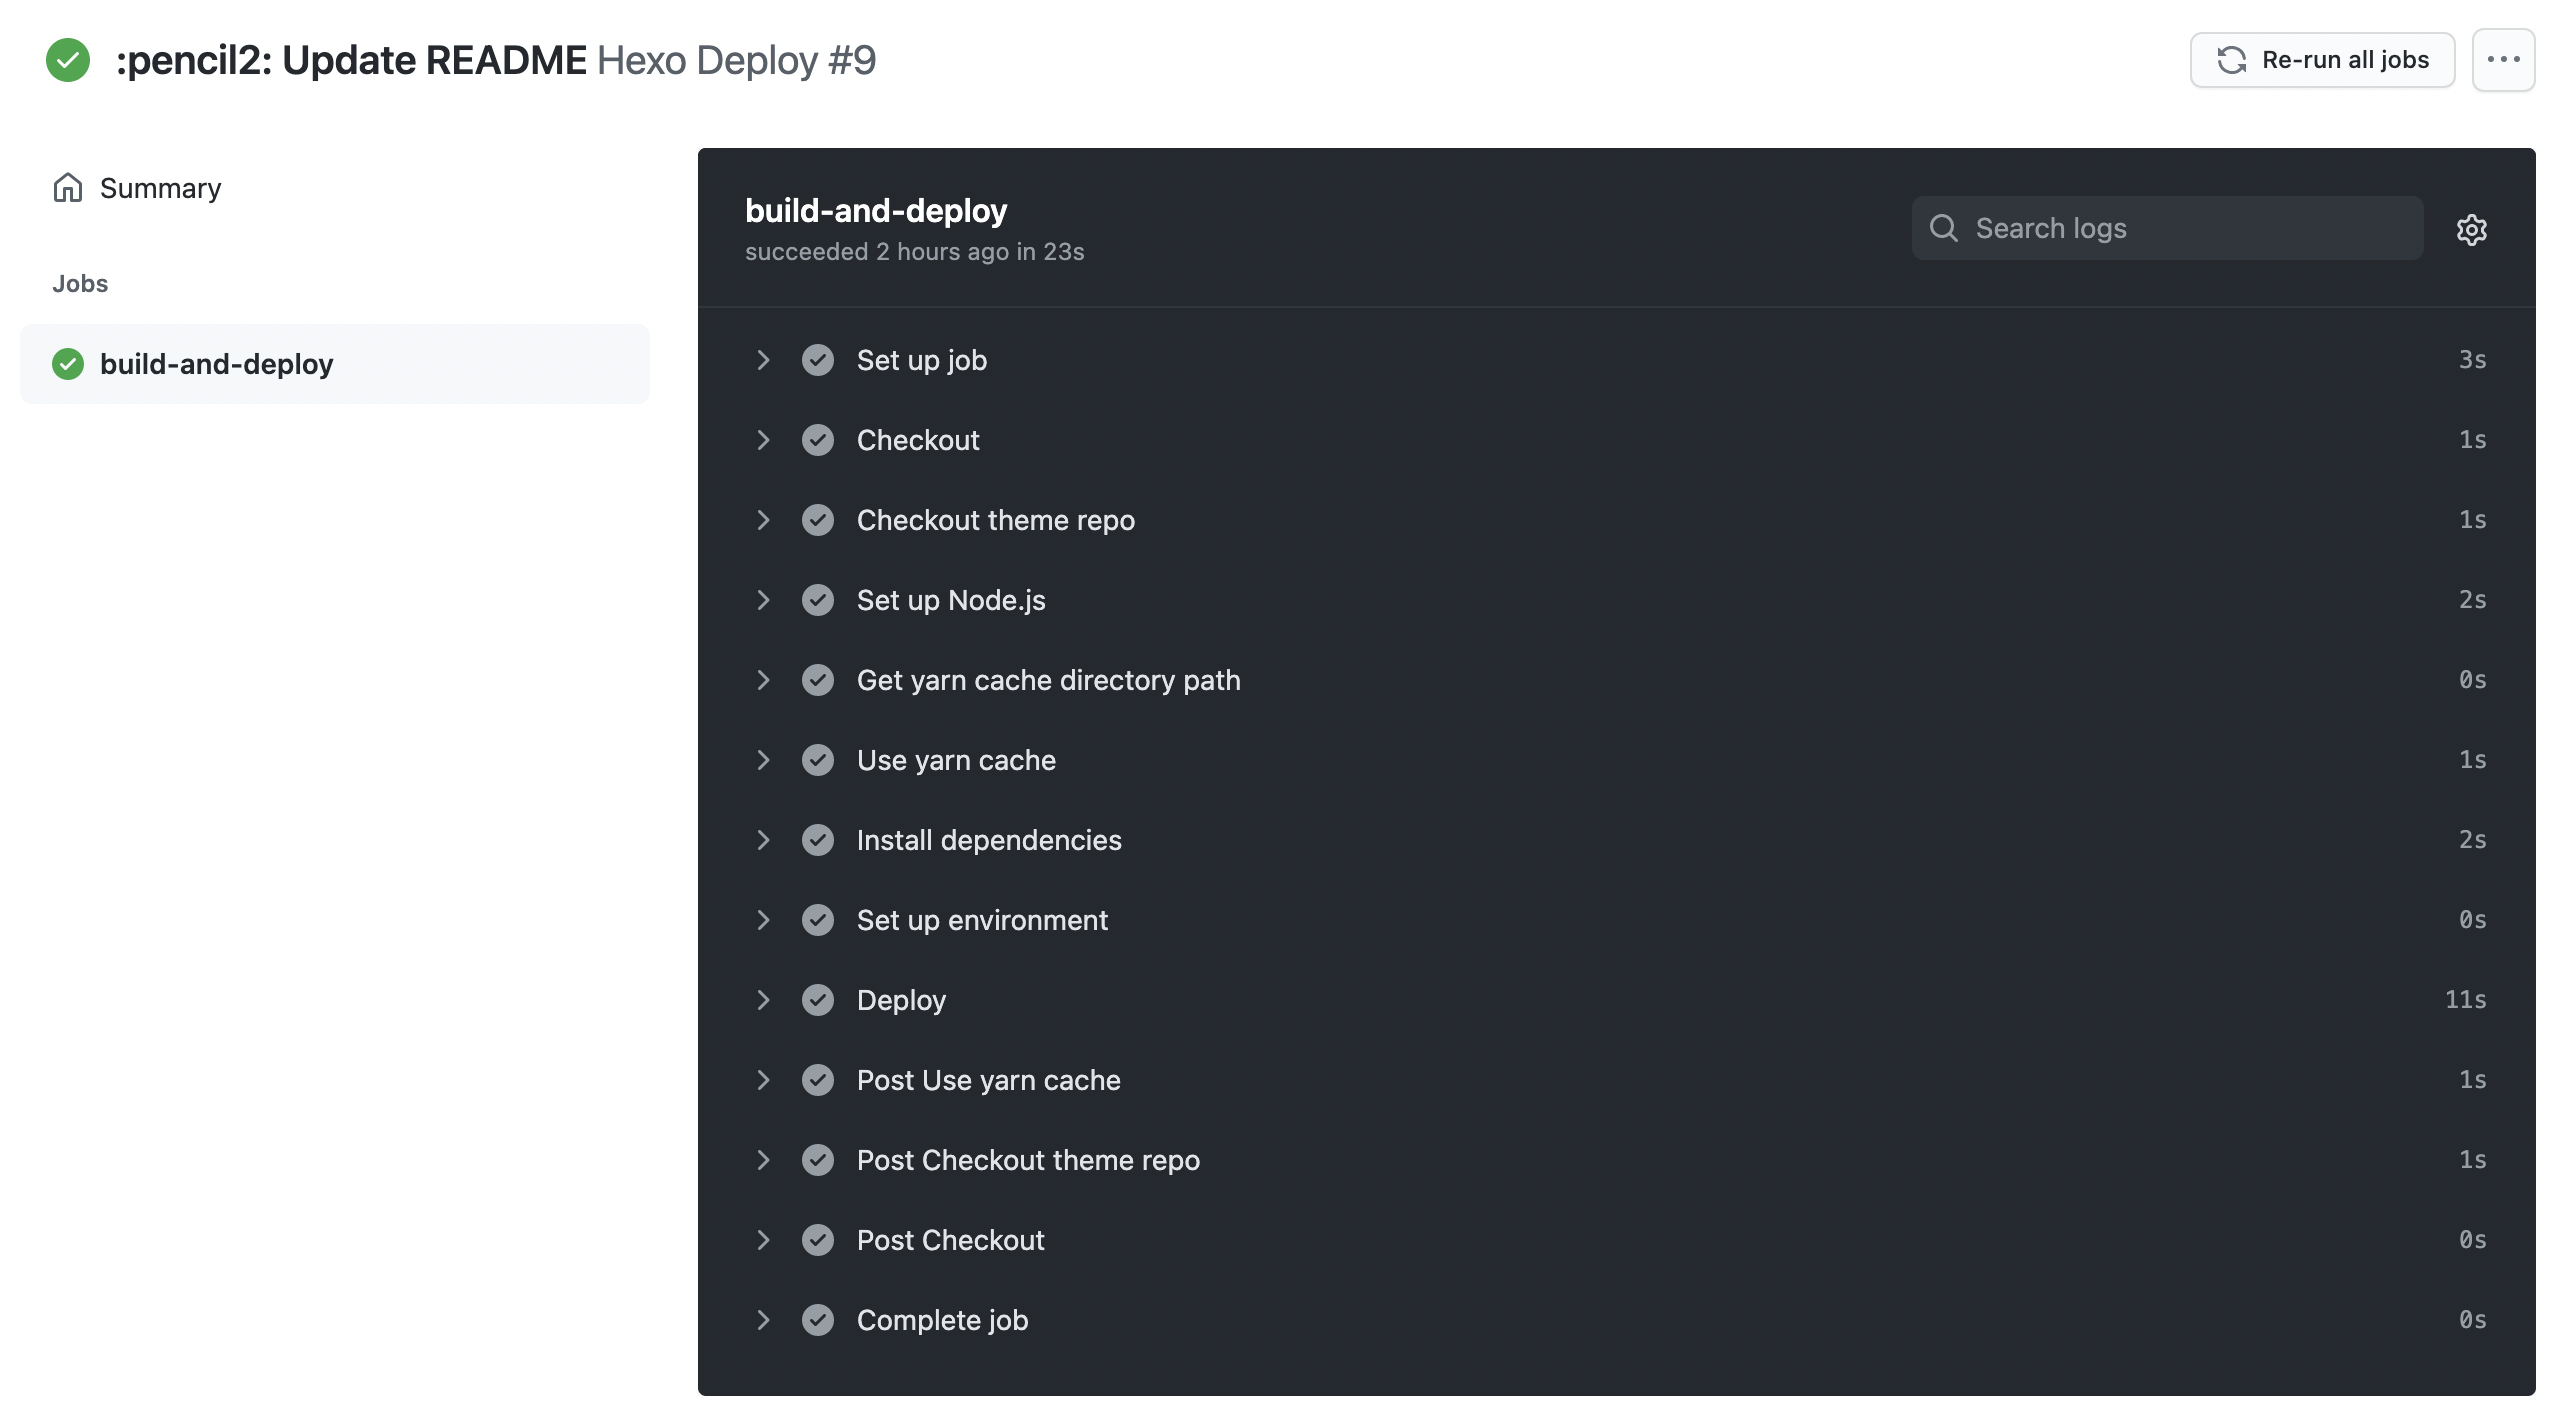
不到半分钟就 build 完了,只能说微软爸爸还是牛逼。